Design a mobile micro-interaction with Principle
PrincipleForMac is a design tool for animating user interfaces for web, mobile and desktop. Prototyping an interactive user interface allows you to quickly evaluate and share your ideas before investing valuable engineering time in development. In the long run, prototyping complex User Interface interactions will accelerate your design-development cycle.
There are other tools out there to design animated, interactive user interface prototypes like Framer. But for those that aren’t that very comfortable with Javascript and animating with code, Principle is a great place to start. Principle lets you create designs that look and feel amazing straight from Sketch artboards which makes for a simple and streamlined workflow.
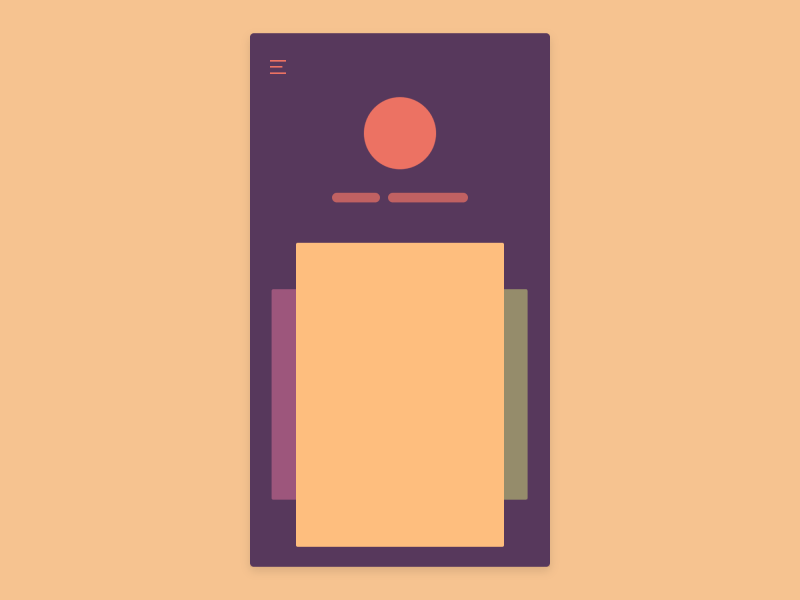
When I want to communicate a complex User Interface idea to a client, I like to quickly prototype the concept before jumping into code, so I often present an interaction for approval before going too deep. This motion graphic is based off of a recent menu interaction I presented for a mobile application redesign:

I have found that developing a proper workflow can save you time and headaches. In this article, I will take you through the basics to create a simple interactive mobile UI animation. To get started, download Principle, fire up Sketch, and grab a pen and blank sheet of paper.
Start with a solid idea
Principle works best if you plan layouts with ‘screens’ or ‘states’ that will transition into each other. Because you are going to be orchestrating a series of events, it is very helpful to have a general script. Try to think through and plan out the steps that you would like to animate:
initial screen => interact with trigger => overlay appears + menu slides in => selection made => menu slides out + overlay fades => back at initial screen.
If you are having trouble visualizing the UI interaction that you want to create, find a simple animation on your phone and try to recreate it. You can find some good examples here on Dribbble.
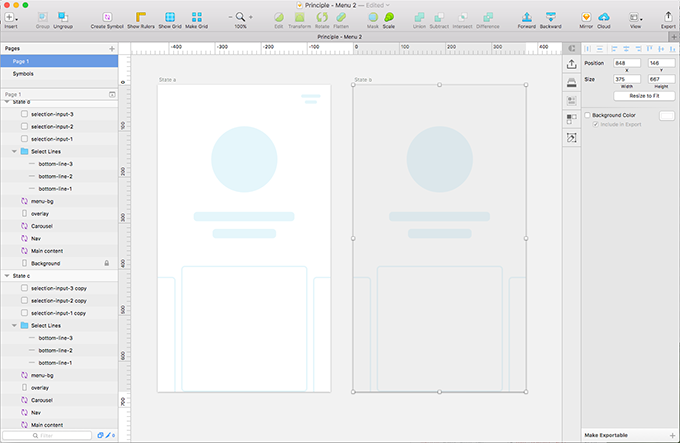
Layout Screens
I start out by sketching a general screen flow to map out my initial ideas on paper. Then I will fire up Sketch and start laying out the interface elements and content blocks for the initial screen. I try to keep elements as generic as possible. You can effectively communicate interaction ideas with appropriate shapes and colors.
I suggest that you spend time organizing your layers into clear, cohesive components. Try to nest layers as little as possible, but create clear groups that will animate together. You should turn these groups into symbols and utilized nested symbols for changing states. Proper organization helps Principle recognize the same layers from screen to screen even if sizes and styles change for that element.
After finishing your first screen, duplicate that artboard and name it appropriately. Create your second screen with the changes that you would like to see. Here we will add a layer with opacity to cover our content and indicate that it is below the menu that we will be animating up from the bottom.
Note when creating screens for Principle:
When planning your animation, it is good practice to also figure out a way to animate back to the initial screen. This allows for you to create an animated gif that loops smoothly instead of jumping back to the initial screen at the end of the animation.
Also, for each new element that you plan to introduce, you want to add that element in Sketch one screen before it appears. This allows Principle to automatically recognize a tween between the two states. In Sketch, when you move an element outside of an artboard, it removes that layer from that artboard’s hierarchy. No problem, if you drag the layer symbol back into the position that you want it in the appropriate artboard, the element will stay off screen, but it will now be in the proper place.
Time to open and import to Principle
When you have finished setting up your screens, it is time to save your Sketch file and fire up Principle. The file that you are going to animate needs to be the only Sketch file open. In Principle, you will click the import button and it will show you the name of whatever Sketch file is open. Choose file, click import and now your artboards, layers, and groups should appear in Principle’s interface ready to animate.
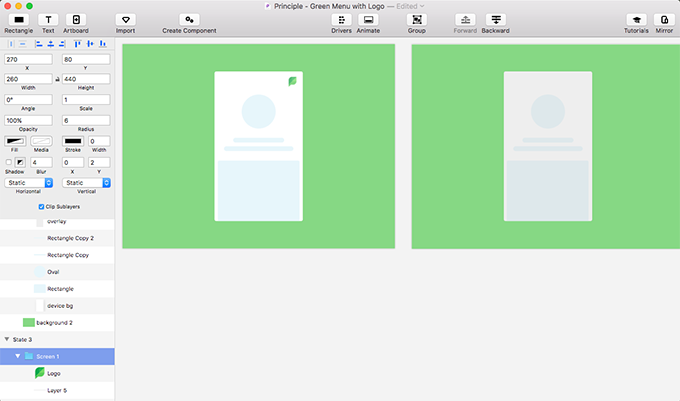
A great feature is that you are able to work between Sketch and Principle pretty seamlessly. If you want to make changes to the files that you imported, you simply go back to Sketch, make changes, and re-import. Principle does a good job saving any interactions that you have already defined while introducing the new elements that you added in. If you want to change the position or other properties of a layer that was imported from Sketch, it’s easiest to make that change in Sketch and then import again.
Here is a quick intro video to demonstrate what you can do with Principle and introduce you to the interface:
Setting up interactions and animations in Principle
Now that our screens are imported and the stage is set for our events, it’s time to start orchestrating. There are lots of interesting techniques that you can utilize in principle. On a single screen you can create elements that scroll and tab. You can create interactions with transitions between screens. You can create independent, reusable components that have properties to embed into the parent file. And you can use Principle’s Driver feature to add some very dynamic, position based changes like rotation and scaling based on an interaction. You can learn more about all of these methods on Principle’s tutorial page.
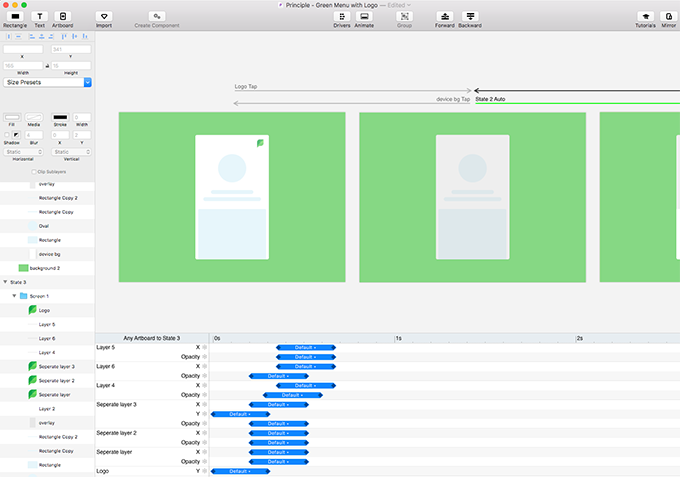
In this example we will start by creating our first transition. Select the element that you want to act as the trigger. You will see a small circle with a lightning bolt icon. Click that icon and an action menu will pop up. I am animating a menu icon, so I am going to choose a ‘tap’ interaction. Click in the circle, and drag the arrow it creates to the screen you want to transition to. This will create your initial transition which you can test in principles live action screen.
![]()
Once you successfully set up your first transition and test it, it is time to configure the rest of the screen interactions that you planned out. If you now click on the transition arrows connecting your screens, it will pull up an animation timeline at the bottom of your project screen. This window will display all elements that change from screen to screen with matched properties that can be animated. Here is where proper organization and naming conventions from your sketch file will really help keep you organized. For each element, it will tell you what changes, for example x axis, y axis and opacity.
You can move these properties around in the timeline panel and change the easing type by clicking ‘Default’ in the middle of the timeline element. You can change the length and the offset by simply moving the blue bar for the element. This allows you to orchestrate animations with very dynamic transitions.
There are all sorts of possibilities of what you can do with this application, and here is where you have the chance to play around and get creative until everything feels right to you. Principle has certain subtleties that you may have to dig up online to figure out, but once you figure out a solution they become simple processes. One such example is clipping and masking layers.
You don’t create masks in Principle like you would in Illustrator or Sketch, which you would do by linking two layers. Instead, masks are create by groupings in folders. If you put elements in a folder, you simple click ‘Clip Sublayers’ and the layers in the folder will not appear outside of it’s bounds. Because of this, you want to organize your sketch layers according to how you want to clip them.
Exporting Principle files to share.
Once your project runs how you want it to in the live action panel, it’s time to save and share your animation which you can do as a prototype, video, or animated gif.
You can easily share as a video or animated gif by clicking the camera icon in the top right of the preview window. You have the option to use the round touch cursor, the arrow cursor, or have the cursor hidden in the recording. After selecting an option for the cursor, Principle begins a screen recording of the Preview window. When the icon starts blinking, the recording has started and you can begin to interact with your design (it may take a moment for the recording to start). Once you’re done recording your design, click the camera icon again to stop recording.
If you’d like to share your designs to others that may not have Principle, you can export a standalone Mac app that anyone with a Mac can open. If you’d like to share you’re design for iOS, see Running on Device. This is easily done if one downloads Principle Mirror.
I hope that this article helps you to get started with Principle! It’s a great program that helps you build some really killer prototypes and motion graphics that really help to communicate great UI concepts!